Read, find, refence and more
Select a Bible Version
Pressing the Select Version button gives a pop-up menu with an overview of the Bible versions and Apocrypha you have available on your device.
Bible versions are indicated with their short name (in most cases an abbreviation). You find the title in smaller characters under the short name.
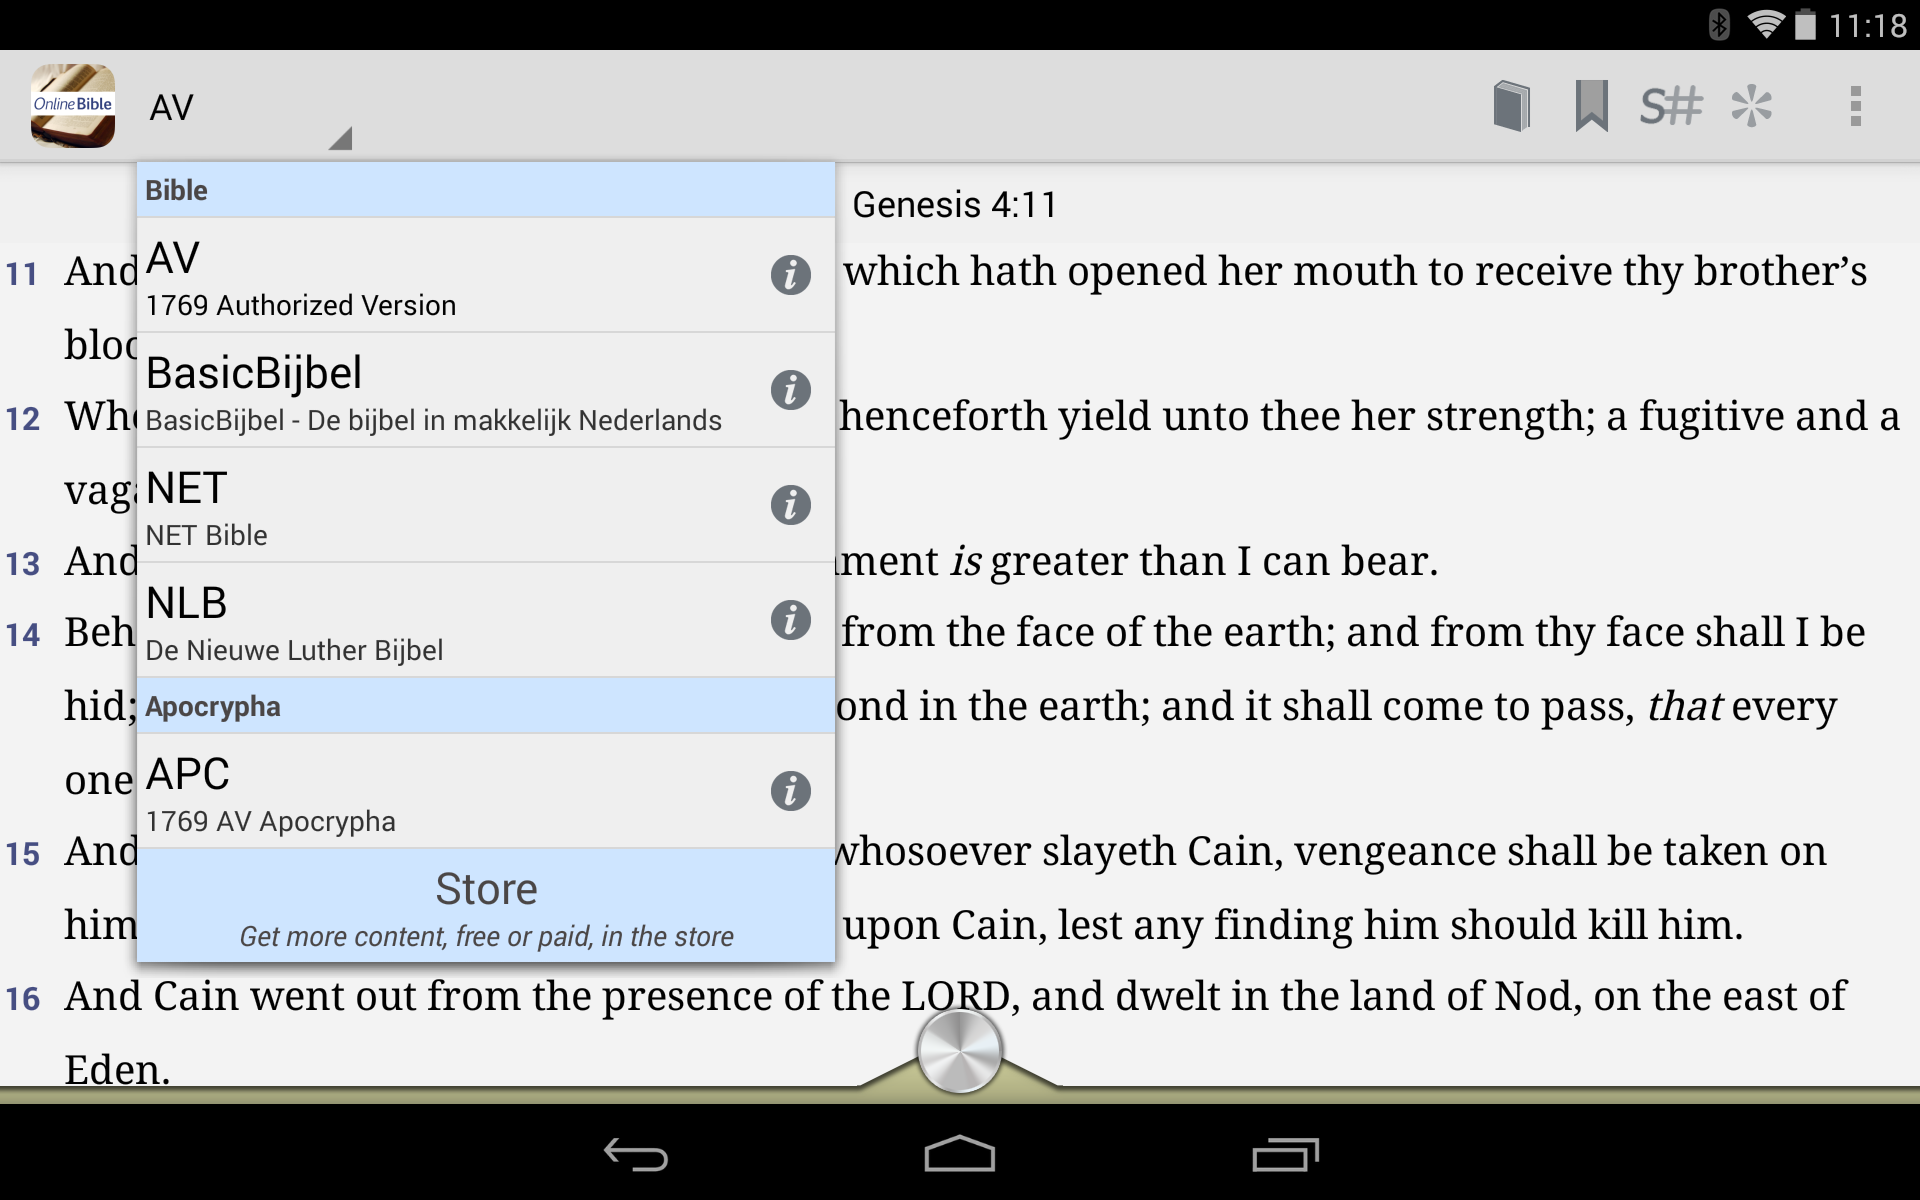
If you want more information on a particular version, like publisher, copyrights, edition number, etc you can press the i-button at right of the list with Bible versions. To close this information press the Online Bible icon at top-left of your screen (you see an arrow pointing to the left to indicate you can use this button to return)
Another way to leave the information screen is pressing the return button on your device.
Switch to another Bible Version
To switch to another Bible version you tap the Select Version button. Select another Bible version by tapping and the Bible area is filled with text of the new selected Bible version. You remain in the same Bible passage as previously selected.
Display a Bible passage

Tap the Select Bible Passage button in the bar on top of the Bible area. The Passage Selection pop-up opens. You can select a Bible book, chapter and verse to display in the Bible area.
At the top of the pop-up you see three tabs, indicating Book, Chapter and Verse. Tip the tab of your choice to select.
Select a Bible book by its abbreviation. You can move the content of the selection screen up with your finger to see more options to select. After tapping a Bible book abbreviation you automatically switch to the next tab to select a chapter. After selecting a chapter the same will happen to the verse tab. After selecting Bible book, chapter and verse the passage is displayed in the Bible area with the selected verse on top.
Browse through a passage
You can browse through the Bible text by placing your finger on screen en moven it upwards or downwards.
Display / Hide the small Inline notes

You can display and hide the inline notes of a Bible text with the Toggle Inline Notes button. This button is only visible if the current displayed Bible version contains these inline notes. Not all Bibles have these kinds of notes.

If the button highlights the button is switched in the “on/display” position. If the button is gray it is switched in the “off/invisable” position.
The inline notes are displayed within the Bible text, in the verse were they belong. If you do not see any inline note while the button is set to its “on” position it means the Bible does not have this kind of notes in the verses you are looking at. When you browse through this Bible and you come on to verse with notes you will see them.
Remark: Larger notes are not available as inline footnotes, but as seperate notes/commentaries. You can display these in the reference area.
Display / Hide Strongs numbers
With the Toggle Strongs button you can switch the display of Strongs numbers “on” and “off” in a Bible text. This button is only visible when the selected Bible Version does contain Strongs numbers. When the switch is set in the “on”-position the button highlights, while in the “off”-position the button is gray.
If a Bible version contains Strongs numbers this button is visible. I.e. the AV contains Strongs numbers. Press the button to display the Strongs numbers in the Bible text. The button changes by highlighting the #-part. You see Strongs numbers displayed in between the words of the Bible in the Bible area.
Press the button another time and the Strongs numbers disappear.
Bookmark a verse
To place a bookmark at a verse press on or just below the verse number. A pop-up menu appears. Select Add Bookmark. You see the bookmark appearing on the verse number.
Bookmarks are saved. You obtain an overview you have placed in a particular Bible version by pressing the Bookmark button in the bar of the Bible area.
Working with Cross References
Lookup a cross reference
If you want to obtain an overview of cross references for a particular verse. Tap on or below a verse number in the Bible area. A pop-up menu appears. You see a Menu-option named “Cross-References” followed by a number. The number indicates how many references are available for this verse. Press the Cross-References Menu-option and a new pop-up appears with all the cross-references.
Browsing through cross references
You can browse through the cross references in the same way as you browse through search results.
Reading a cross-reference in context
Tap a verse in the cross-references overview and the text is displayed in context in the Bible area with the verse of the cross-reference on top of the Bible area.
Copy a verse
To copy a Bible verse to the clipboard tap on or just below the verse number. Select the Menu-option Copy and the full verse is placed on the Clipboard.
Open the dictionary from a word in the bible text
If you tap a word in the Bible area the app searches through available dictionaries for that word.
The result is displayed in a pop-up. Tap the result in the pop-up and the content is displayed in the reference area.
If more than one dictionary contains information on that word you obtain an overview in the pop-up. Select the word under the title of the dictionary and the content is displayed in the reference area.
Open the lexicon for a Strongs number
If you tap a Strongs number in the Bible area the definition from a lexicon is displayed in a Pop-up. Tap the pop-up and the content is displayed in the reference area.
To switch to another lexicon tap the Reference Title button. The title of the reference work already displayed is on top. Select another Lexicon and the reference area will be filled with the content of the same definition of the other reference title.
Remark: Take care you do not switch from a Greek Lexicon to a Hebrew Lexicon or visa versa.